

Photo booths have become a must-have feature for weddings, corporate events, birthday parties, and other special occasions. They provide guests with instant memories, unique keepsakes, and a fun activity that elevates any event. However, booking and setting up a photo booth rental requires careful planning to ensure your guests have a seamless and enjoyable experience. This guide will walk you through each step, from selecting the right booth to post-event tips, ensuring your event runs smoothly.
1. Determine Your Event Needs
The first step in booking a photo booth rental is identifying your event’s specific needs. Ask yourself the following questions:
-
Type of Event: Is it a wedding, corporate event, birthday party, or trade show? Different events may require different booth styles or features.
-
Guest Count: How many guests will be attending? Larger groups may need a booth with higher capacity or quicker photo turnover.
-
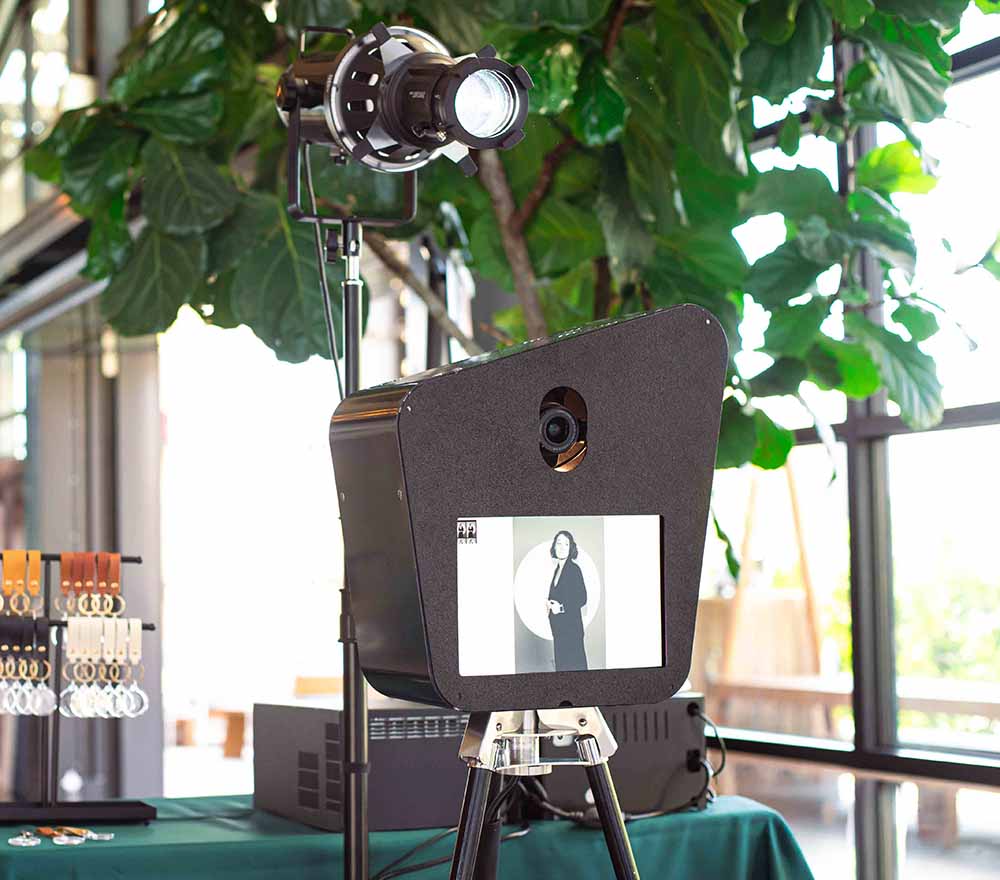
Theme and Style: Consider the aesthetic of your event. Do you want a classic enclosed booth, an open-air style for group shots, or a high-tech 360° video booth?
-
Budget: Determine how much you are willing to spend. Photo booth rentals vary widely in price depending on features, size, and customization options.
Having clear answers to these questions will make it easier to choose the right photo booth rental and avoid surprises down the line.
2. Research and Compare Vendors
Once you know what you need, start researching photo booth rental companies. Look for reputable vendors in your area and compare their services:
-
Experience and Reviews: Check online reviews, testimonials, and portfolios. Experienced vendors can handle large crowds, troubleshoot problems, and provide high-quality prints.
-
Booth Options: Make sure the company offers the type of booth that fits your event needs. Open-air booths, enclosed booths, and 360° video booths each provide a different experience.
-
Packages and Pricing: Compare rental packages, included features, and additional costs such as custom backdrops, props, or extra printing time.
-
Customer Support: Ensure the vendor is responsive and provides clear communication throughout the booking process.
Creating a shortlist of vendors will help you make an informed decision and secure a reliable provider for your event.

3. Book Early to Secure Your Date
Photo booth rentals are in high demand, especially during wedding season or around major holidays. Once you’ve selected your preferred vendor, book as early as possible. Most companies allow bookings several months in advance, which ensures you get the booth you want on your preferred date.
During booking, confirm:
-
Event date and time
-
Duration of the rental
-
Any specific booth setup requirements
-
Delivery, setup, and teardown logistics
Booking early also allows you to coordinate with other vendors and plan your event schedule more effectively.
4. Customize Your Photo Booth Experience
Many photo booth companies offer customization options to make your booth truly unique. Customization can include:
-
Branded Photo Templates: Perfect for corporate events or product launches to reinforce your brand.
-
Personalized Backdrops: Align your booth with your event theme, colors, or logo.
-
Props: From fun hats and glasses to themed props, these enhance guest engagement.
-
Digital Features: Some booths allow GIFs, boomerangs, or instant social media sharing.
Deciding on customization early helps the vendor prepare everything in advance and ensures a polished experience for your guests.

5. Plan the Booth Layout
The location and layout of your photo booth play a major role in its success. Consider the following:
-
Space Requirements: Check the dimensions of the booth and allow space for guests to line up and interact.
-
Lighting: Proper lighting ensures high-quality photos. Make sure the booth area is well-lit or that the vendor provides professional lighting.
-
Accessibility: Guests should have easy access to the booth without blocking foot traffic at the event.
-
Power Supply: Most booths require electricity, so ensure there is a nearby outlet or discuss battery options with the vendor.
Planning the layout ahead of time will prevent last-minute problems and ensure smooth operation.
6. Communicate with Your Vendor
Clear communication with your photo booth provider is crucial. Discuss:
-
Arrival and Setup Time: Vendors typically arrive 1–2 hours before the event to set up and test equipment.
-
Event Timeline: Share your schedule, including speeches, activities, or performances, so the booth doesn’t conflict with key moments.
-
Guest Flow: Estimate peak times to avoid long waits and ensure your booth can accommodate guest demand.
-
Special Requests: Any unique requirements, such as a specific backdrop or props, should be confirmed in advance.
A strong line of communication reduces stress and ensures the vendor delivers exactly what you expect.

7. Test the Booth Before the Event
Whenever possible, ask the vendor to test the booth before guests arrive. This allows you to:
-
Check camera angles, lighting, and photo quality
-
Ensure the printer (if applicable) is functioning properly
-
Confirm props, backdrops, and digital features are ready
-
Troubleshoot any technical issues
Testing in advance prevents delays and ensures your guests have a flawless experience.
8. Engage Your Guests
Once the event begins, make sure your photo booth is being used to its full potential:
-
Promote the Booth: Place signage or have an MC/host encourage guests to visit.
-
Encourage Group Shots: Open-air booths are ideal for larger groups, while enclosed booths are fun for couples.
-
Social Sharing: If your booth offers social media sharing, provide instructions so guests can instantly post their photos.
Active engagement keeps energy high and ensures everyone enjoys the booth.
9. Wrap-Up and Teardown
At the end of the event, the vendor will typically handle teardown and removal. Confirm:
-
Pickup Time: Coordinate so it doesn’t interfere with other event activities.
-
Cleanup: Make sure the vendor handles any mess from props or decorations.
-
Data and Photos: Ask how photos will be delivered via digital gallery, USB drive, or printed copies for you and guests.
Proper teardown ensures a smooth end to your photo booth experience and protects the equipment.
10. Post-Event Follow-Up
After your event, take time to:
-
Review the Photos: Share them with guests via online galleries or social media.
-
Leave Feedback: Review your vendor online or provide a testimonial this helps future clients and builds relationships with the vendor.
-
Reflect on Experience: Note what worked well and what could be improved for future events.
Post-event follow-up ensures your memories are preserved and gives valuable insights for future rentals.
Conclusion
Booking and setting up a photo booth rental doesn’t have to be stressful. By carefully considering your event needs, researching vendors, customizing your booth, and planning logistics in advance, you can create a seamless and memorable experience for your guests. From selecting the right style to engaging guests and sharing the final photos, a well-executed photo booth elevates any celebration and leaves lasting impressions.
Following this step-by-step guide ensures that your photo booth rental is not just a fun addition, but a highlight of your event that guests will remember for years to come.